
 Buy
Buy
 This tutorial was posted in our Forums by Faith from AlaiynaBDesigns you can follow the thread here. We considered it to be very informational and useful and decided to use it as a blog post giving all the credit to its author, Faith.
Selling online can be much more difficult than in person because buyers cannot physically see and touch our products. Because of this, we all know how important our product images must be.
If you sell a unique product that is in demand without a lot of competition, you will still make sales. If you sell in a more saturated market, you need every available tool to your advantage to set yourself apart from everybody else.
Your product image is the first thing your buyers will see when perusing the available choices on a marketplace venue. If you cannot capture them visually, there is less of a chance that a potential buyer will click through to the listing to find out more about your product no matter how great your price and description is.
You only get one chance to make a first impression.
Photographing our items is usually the biggest challenge we face as online sellers so let's share some hints and tips about product images from both the buyer and seller perspective.
- As a buyer - what catches your eye and makes you want to click through to a listing and what turns you off
- As a seller - what tools and techniques have you found that has greatly improved your product images (props, cameras, camera settings and accessories, software).
Here are my suggestions and tips.
-
If I cannot tell what you are selling from the first image I will not click through to try to figure it out. Make sure it is very clear what the product is you are selling.
-
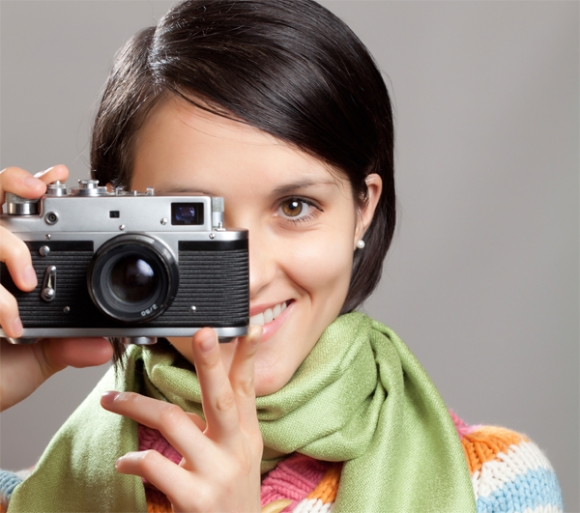
Close-ups. I have a separate macro lens for my digital SLR camera which allows me to take some good closeups. Most cameras have a macro setting for closeups. Learn your camera and experiment with the settings.Blurry Pics - don't even think about using them. Very unprofessional and do more harm to you and your brand than good. Use a tripod if necessary and learn about macro lenses and settings as above.
-
Backgrounds/Props. There is a time and place for backgrounds and props. If you have too many or too much, you are detracting from your product causing the background and props to compete for your buyers attention. Let them compliment your product to enhance and showcase it not take it over. Props can be great for giving you the ability to photograph at different angles, but again, use them to compliment your product. Again, a buyer should not have to wonder what you are selling.Location. I don't want to see your kitchen table or floor. If your product looks like it was photographed in your home, I am a bit turned off. Keep it professional.
-
Lighting. Get rid of shadows and hot spots. If your lighting is balanced on all sides you will not have shadows. If taking pictures outside, do not do so in bright sunlight, overcast is best for more natural lighting. Watch the flash as it can create glare and bright spots especially on metals.
-
Contrast. If your item is very light colored a darker background will make it pop more, if dark, use a lighter background. Watch the bright colored backgrounds, they can be too much for many people and again, overshadow your product.
- Software. I use Photoshop elements to crop and improve my photos. There are lots of free photo editing options out there. Maybe someone else will post those that they use.
The biggest problem I have faced is in photographing sterling silver at an angle due to its reflective nature. Under normal circumstances, you will get images and darkened areas reflected on the silver that will appear in your images. I have even seen camera reflections in some images. I finally came up with an inexpensive solution to this problem as I was getting tired of photographing my pieces on a flat surface and created a blot post with before and after images here:
http://alaiynabdesigns.blogspot.com/2010/09/how-i-improved-my-jewelry-photos.html
this made a huge difference on how I now stage my products for photos. If you look at my shop, you can easily see the difference between my newer product images and my old style. One of these days I will get around to retaking my older product images..
Hopefully people will find some useful information for ways to improve there photography. The better we can all make our product images, the better the overall site will look and that benefits us all. Many people will land on the homepage and if the products displayed there are not very visually appealing, less chance that user will stay and browse.
